How to perform a Google Glass screencast
After several hours of hard coding, your brand new Google Glass app is ready. It’s time for a demonstration! But wait… we’re talking about glasses, how is it possible?
Using Google Glass is a single-person experience. That is why a demonstration is a little bit tricky: you cannot see what the user wearing the glasses is doing and you can hardly help him.
But don’t worry! We have a solution for you.
Google Glass Screencast
In this article, we will show you how to duplicate the screen of your Google Glass onto your computer (or your Android device).
Note that you can use the exact same procedure for any other Android device.
Installation
Start by downloading the required tools.
- Install the SDK Android and add the
toolsandplatform-toolsfolders to your PATH variable.
- Download Droid@Screen or Android Screen Monitor.
We recommend Droid@Screen which is more user-friendly and provides a lot of useful tools: zoom, rotation…
Demo time
To start the screencast you have to:
- Turn on debug mode on your Google Glass. The option can be found in the
Device Infosub-menu in theSettingsof your glasses.
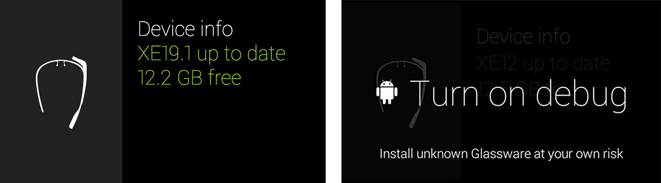
Turn on debug mode
- Connect the glasses to your computer through USB. A popup may appear asking you whether you want to trust the computer or not. “Allow” is the right answer!
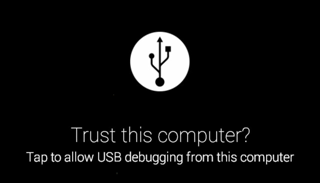
Allow debugging from your computer
- If you are using Droid@Screen, simply double-clic on the .jar file. If you are using Android Screen Monitor, open a terminal and enter the following command:
java -jar asm.jar.
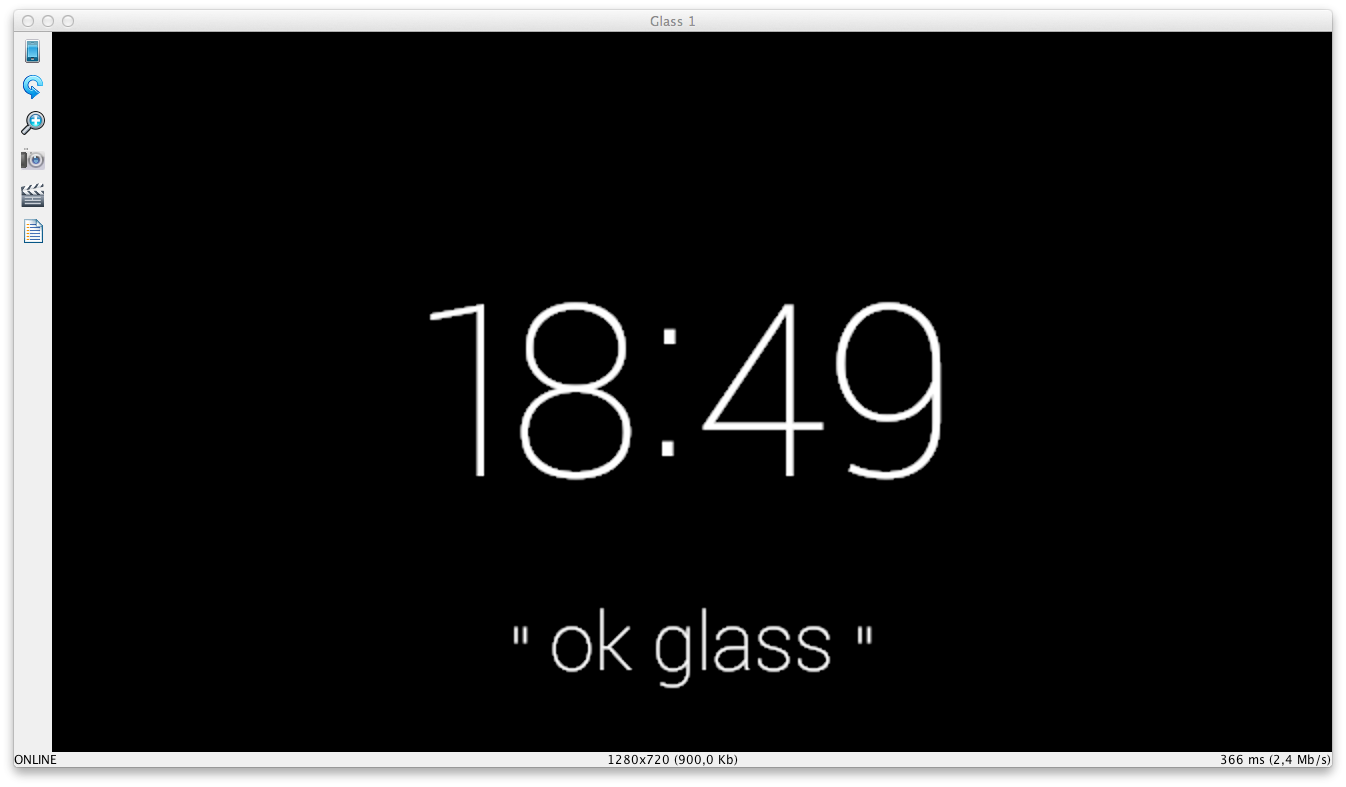
Screencast using Droid@Screen
Wireless!
If you want to be classy and get rid of the USB cable, it is possible! But you will need a few more terminal operations and the latency will probably be higher…
You need ADB (Android Debug Bridge) which you actually already have since it was shipped with the Android SDK. You can find ADB in the platform-tools directory.
- Open a new terminal.
- Plug the glasses to your computer through USB and use the
adb devicescommand to check the connection.
- Find the Google Glass’ IP address by typing
adb shell netcfgin the terminal. The IP address (for example10.0.0.12) should be accessible in thewlan0section.
- Start TCP mode using the
adb tcpip 5555instruction.
- Launch connection using
adb connect [Google Glass IP](for exampleadb connect 10.0.0.12)
- Unplug the Google Glass.
If you need to go back to USB mode, enter adb usb.
Using an Android device
If you want to screencast your Google Glass on an other Android device, typically a tablet, Google provides a very useful application : MyGlass.
Download the app, log in using the Google account associated with the glasses and follow the instructions to pair the Android device and the Google Glass. Then, launch the Screencast mode.
One more thing…
The app allows you to control the glasses from the tablet!