DroidCon Paris 2014
In September was held the second edition of DroidCon Paris, an Android conference organized by the Paris Android User Group and BeMyApp. The agenda was quite stacked, with a whopping 47 talks in just two days (videos have been made available here). Overall, these talks have been extremely interesting and full of relevant technical information.

We would like to go back on a selection of three among those who grabbed our attention the most. We highly recommend you to check those out by yourself, but we hope the following summaries will give you the basics.
The Death of the Refresh Button, by Mathieu Calba
Let’s start with a user-driven talk. The main idea behind this presentation was to offer solutions to limit the need for an internet connection when the user is using the application.
By syncing the data in the background (even when the app is not active), you could have all the relevant data for the user when he starts using the app. Obviously, this does not work for every app: for example, if your application has a news section, you might want to have the freshest data available and still make a network request when it becomes active. But for Capitaine Train (a French travel agency selling train tickets in Europe), the company the speaker works at, the user is able to access information on his travels, without the need for a network at the time of consultation.
The best solution available uses push to notify the application of updates. If the content of the update is small (for example, a delay), it can be included in the payload of the push. Otherwise, the push can just notify the application that an update is available, and the application can then make a network request for the content on its own terms.
When push is not an option, you have to fallback on periodic polling. The first difficulty is to choose when you want to poll, depending on how probable an update is, network availability, battery level, … You also want a solution that can survive a reboot of the device, so just a service won’t suffice.
The first solution is to rely on the AlarmManager for waking up your app. Problem is that all registered alarms will be cleared on reboot, so you need to register your app to receive booting events (requiring the RECEIVE_BOOT_COMPLETED permission).
A second solution is to create a SyncAdapter. This used to be the “Google way” before Android Lollipop. One caveat is that the user can ask to disable all periodic and automatic sync, which would disable your SyncAdapter. Also, this requires to write a significant amount of code for all the required pieces (SyncAdapter itself, AccountAuthenticator, ContentProvider, …)
The third and last option is the new kid on the block: JobScheduler. As of writing, it is only available in the Android L preview SDK. It relies on a system service (which is restarted on reboot, with its state persisted) and provides a lot of options for configuring the wake-up of your app (battery level, network state, timing, …). The benefits of this solution is to provide a simple API, with all the needed features, and to be easier on the battery since only one service will check for network status or battery level, and orchestrate the wake-up of the other apps. But the big limitation is that you cannot use it on any device running an OS older than L (which will take quite some time to become mainstream).
You can find the video here and the slides there
Deep Dive into Android State Restoration, by Cyril Mottier
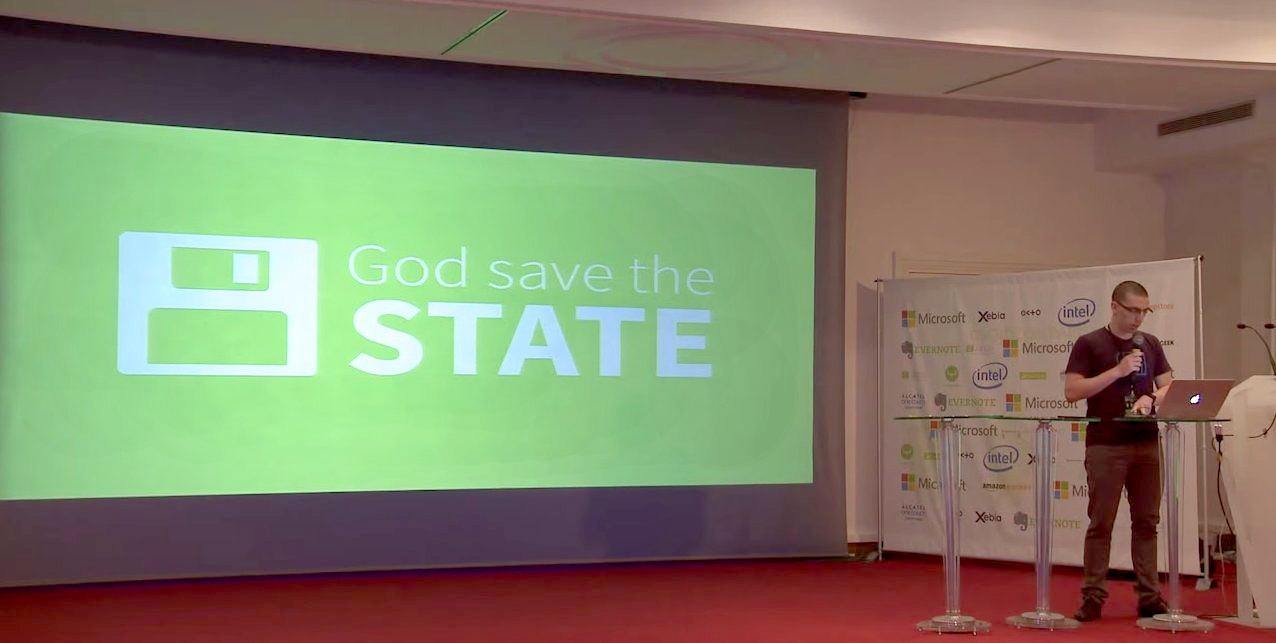
There are a lot of ways on Android that your application state can be lost. For example, on configuration changes (screen orientation, keyboard, …), the default behavior is to have your activity restarted. The example given during this talk was of a form whose fields would be cleared on such a configuration change. You can also lose the state of your previous activities when navigating the application or when the application goes into background. So what you need to do is tell the system which information you would like to keep in these cases.
The store in which you will want to keep this information is a Parcelable object. Creating your own Parcelable object requires a lot of boilerplate code (which can be generated for you), or you can use a Bundle, which is a Parcelable key-value store. Some of the Android APIs will directly give you a Bundle.
You can persist your state in three places. First one is the most obvious one: your activities. When your activity is about to be stopped, the activity’s onSaveInstanceState(Bundle) method will be called. It will provide you a non-null Bundle in which you can add the information you would like to save. The default behavior of this Bundle is to save the Window, the Fragments and the Dialogs. This Bundle will be given back to you in the Activity’s onCreate and onRestoreInstanceState methods.
You can also save part of your state at the View level. When your activity is destroyed and onSaveInstanceState is called, the first step the system does is call saveHierarchyState on the Window. On top of saving the state of the Action Bar, the Panels and the id of the focused view, saveHierarchyState will call saveHierarchyState on the content View. Views have their state automatically saved by the system if: they have a unique ID (in the view hierarchy), come from the framework and are “save” enabled (true by default). The ID is necessary because the data will be stored in a SparseArray<Parcelable>, indexed by the IDs (which is also the reason why this ID must be unique). All framework views implement their own onSaveInstanceState and onRestoreInstanceState, but if you create your own custom view, you need to implement these methods yourself. Finally, you can manipulate what to save using the setSaveEnable(boolean) and setSaveFromParentEnabled(boolean) methods.
Finally, you can also save the state of your Fragments. The behavior is very close to saving the state of an Activity. The subtlety is that attached fragments have their views in the view hierarchy but those bound views are explicitely asked to be saved with the fragment and not with the view hierarchy.
The video is available here and the slides are on speakerdeck
Robotium vs Espresso, by Thomas Guerin
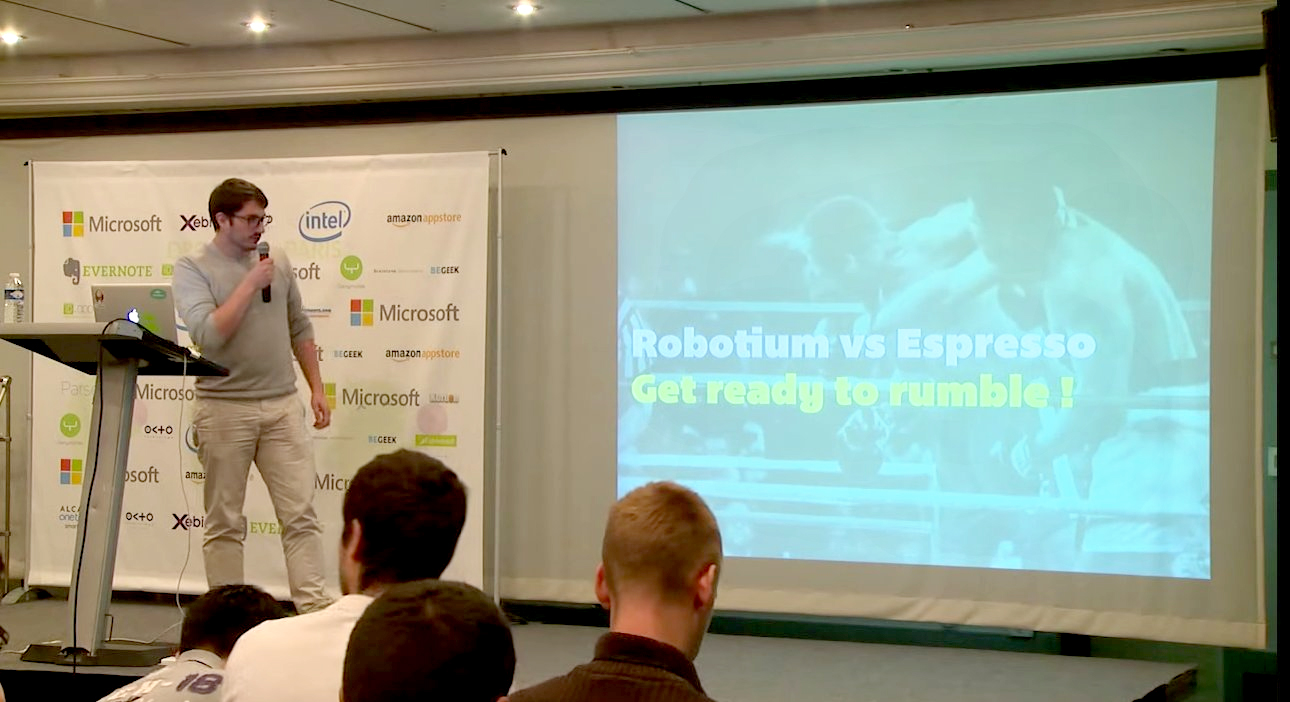
The goal of this talk is to compare two functional test frameworks: Robotium (inspired by Selenium) and Espresso (developped by Google). Those are independant of unit tests and focus on views and interacting with them.
Robotium’s API, taking its inspiration from Selenium, relies on the use of a Solo object, which you bind to your Activity. This object provides all the necessary methods to interact with your application (clicks, scrolls, …). You then write assertions to test if your application behaved as it was supposed to. The speaker was recommending the use of Hamcrest, which provides a full set of Matcher objects, designed to simplify the writing of your assertions.
Espresso’s API relies on 3 concepts: ViewMatchers, ViewActions and ViewAssertions. You use a ViewMatcher to find a view and a ViewAction to act on it (what Solo does in Robotium) and ViewAssertions for the testing itself. ListViews are treated differently: instead of matching on view properties, you match on the data that has been bound to your row.
With Robotium, WebViews can be interacted with, by using appropriate Solo methods, which allow you to navigate the DOM. Unfortunately, Espresso is still in a Developer Preview status, and WebViews are not currently covered.
If no view is found matching the requirements, Espresso has the advantage of logging the view hierarchy (and parameters of the views), which help a lot in understanding why the test has failed.
A big difference between the two frameworks concerns how to chain actions. Robotium requires explicit waiting instructions (where you provide what you are waiting for). On the opposite end, Espresso relies on GoogleInstrumentationTestRunner: it will monitor the UI thread to detect when it becomes idle, and then trigger the next instructions. This will allow an automatic detection of most of the waiting periods, but sometimes you need to wait for asynchronous operations. So you can give Espresso IdlingResources, which will make it wait until their isIdleNow method returns true.
In the end, the speaker recommends using Espresso, and to complement it with Robotium for testing WebViews (while waiting for Espresso to support them). One caveat is that Espresso is still a work in progress, and might still have a few bugs that can impact your tests.
Conclusion
This was only a small sample of all the talks that were offered during these two days. Once again, we highly recommend you to have a look at them.
Overall, this has been a very positive experience, with a lot of technical content that will take us quite some time to go through, and we will definitely come back next year.